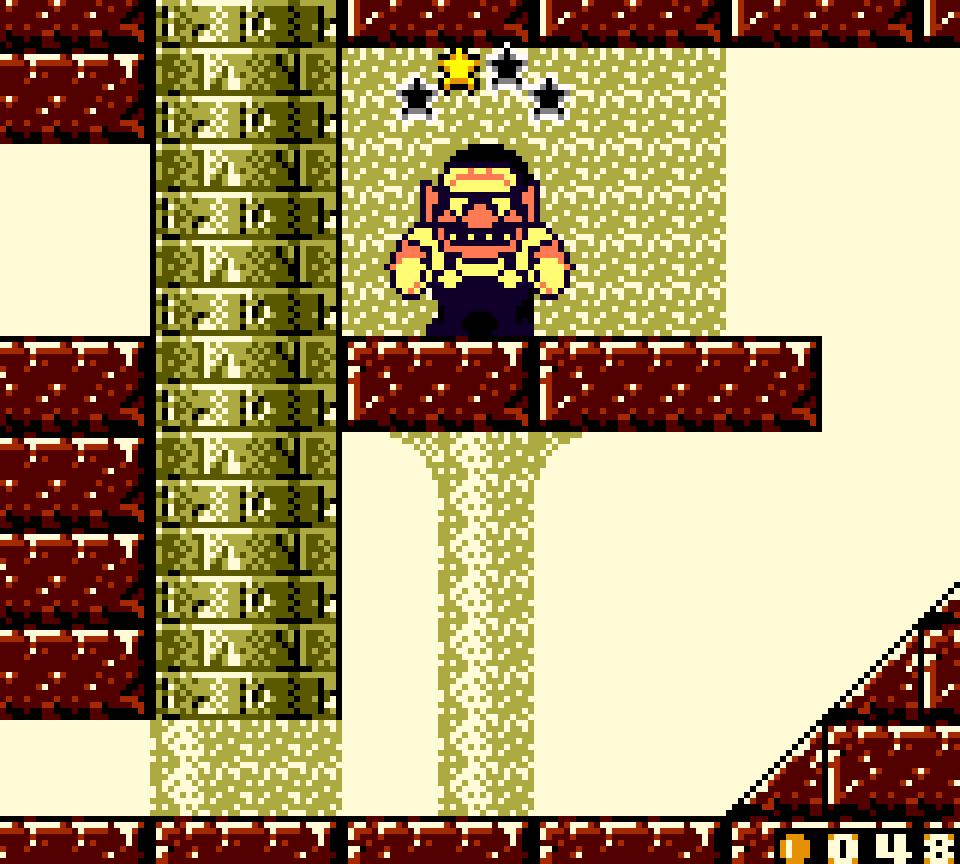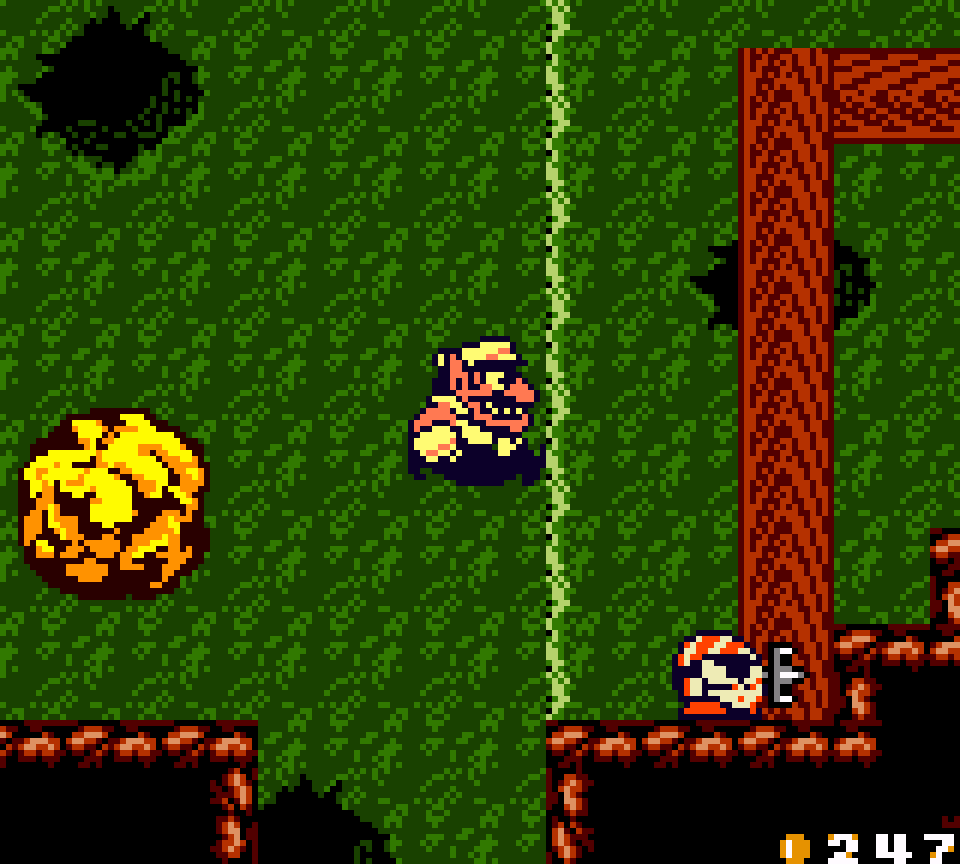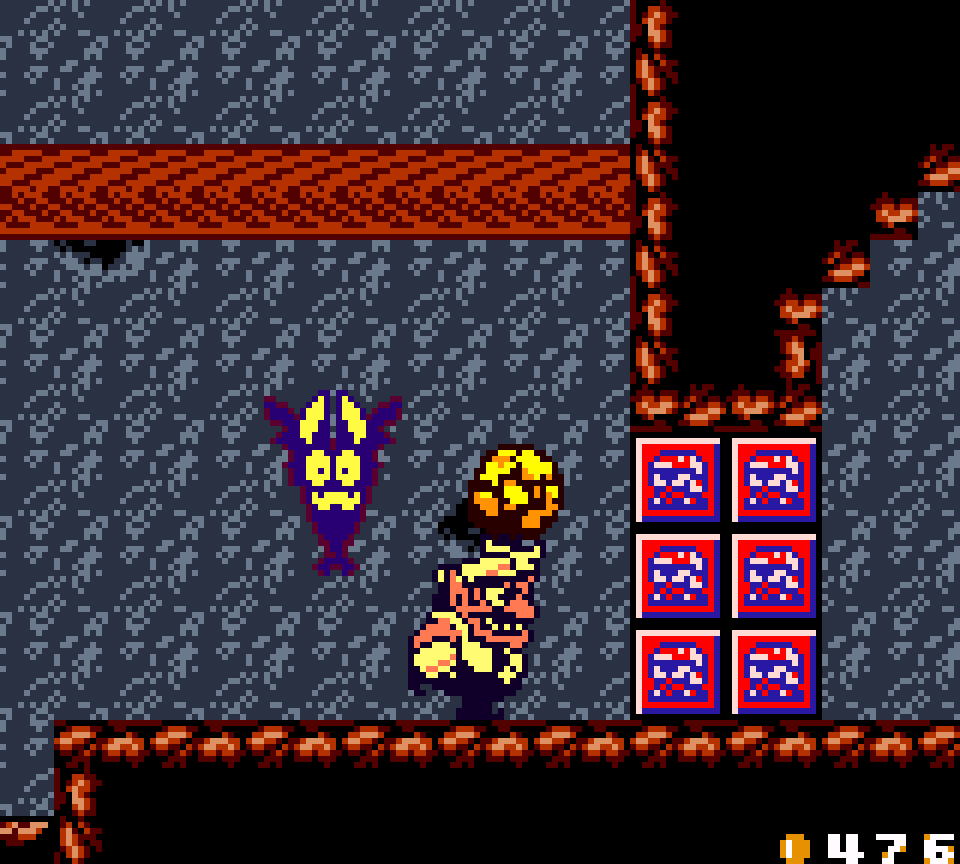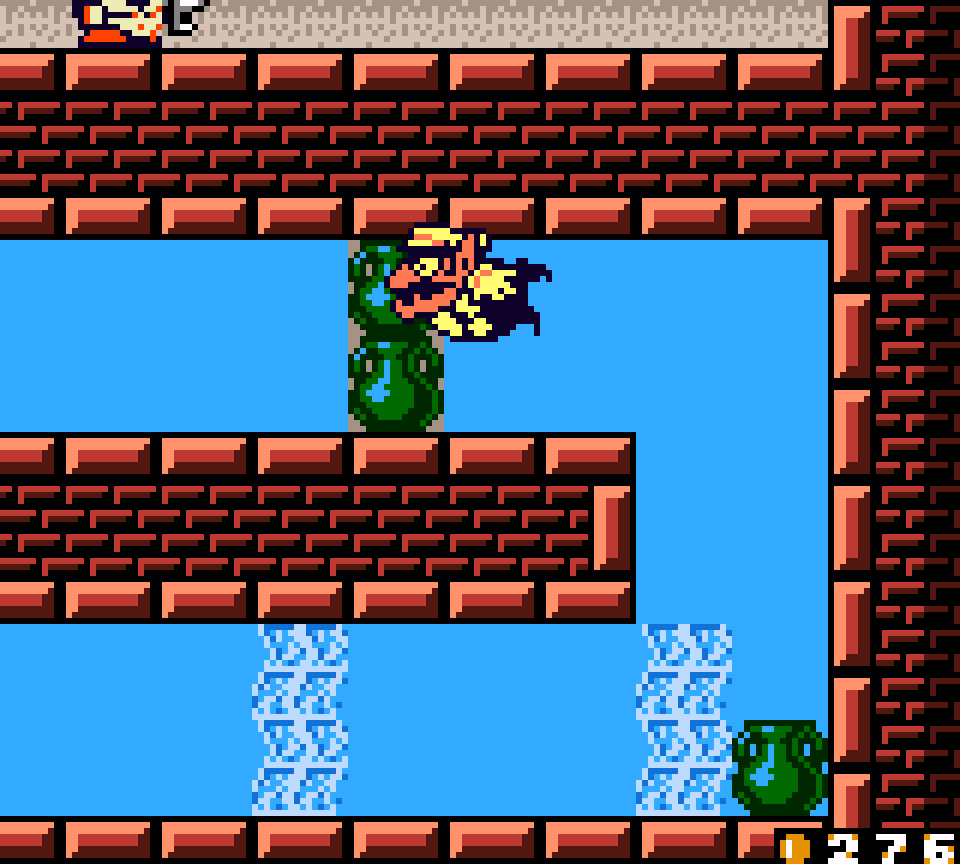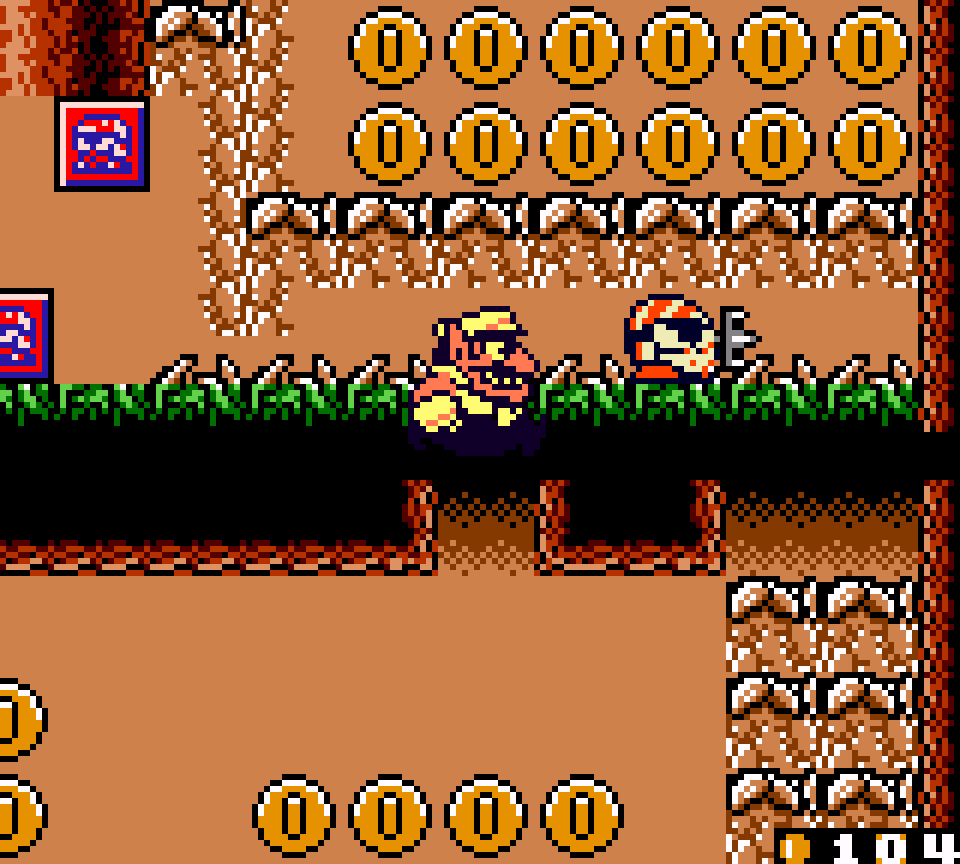
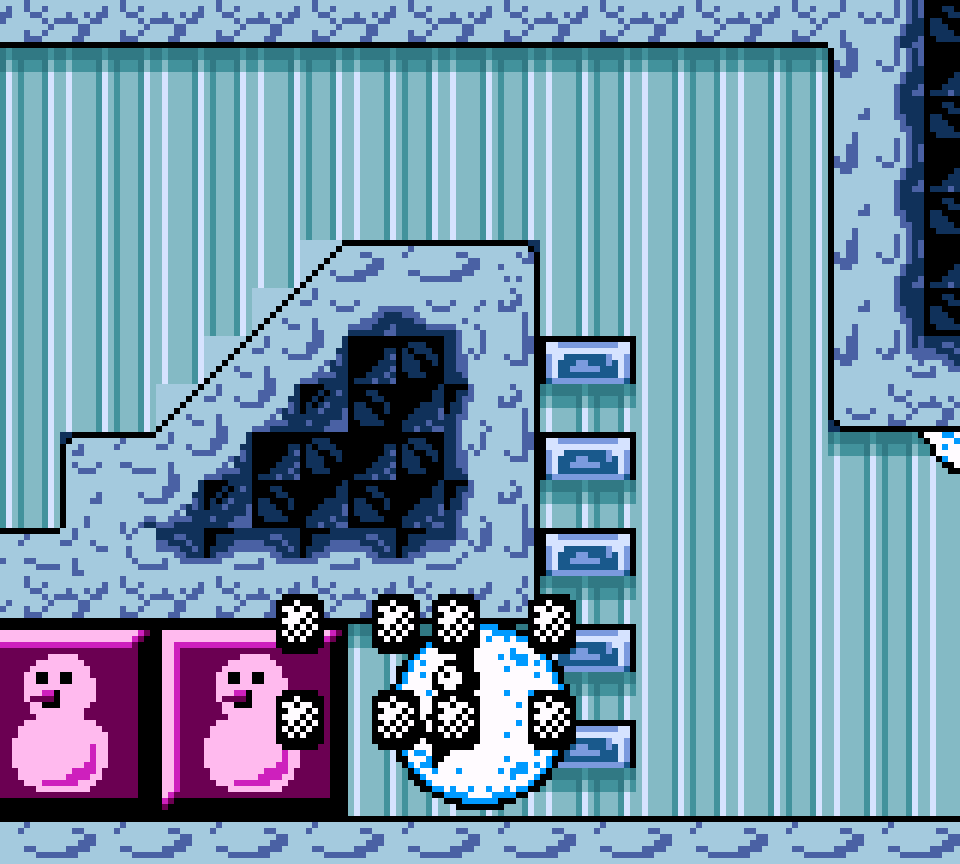
Wario Land 3 is the point @ which the Wario Land series finally reaches its fullest potential, combining the clever status effect mechanic, where getting hit by certain enemies gives Wario certain effects like floating upward or falling down thin platforms, — & including new ones that are some o’ the best in the series, like turning invisible, turning into a yarn ball, turning into a snowball, or turning into a vampire who can become a bat & fly — which can be positive or negative for the player depending on the context, with a more open, explorative level than the mostly linear levels Wario Land II offered.
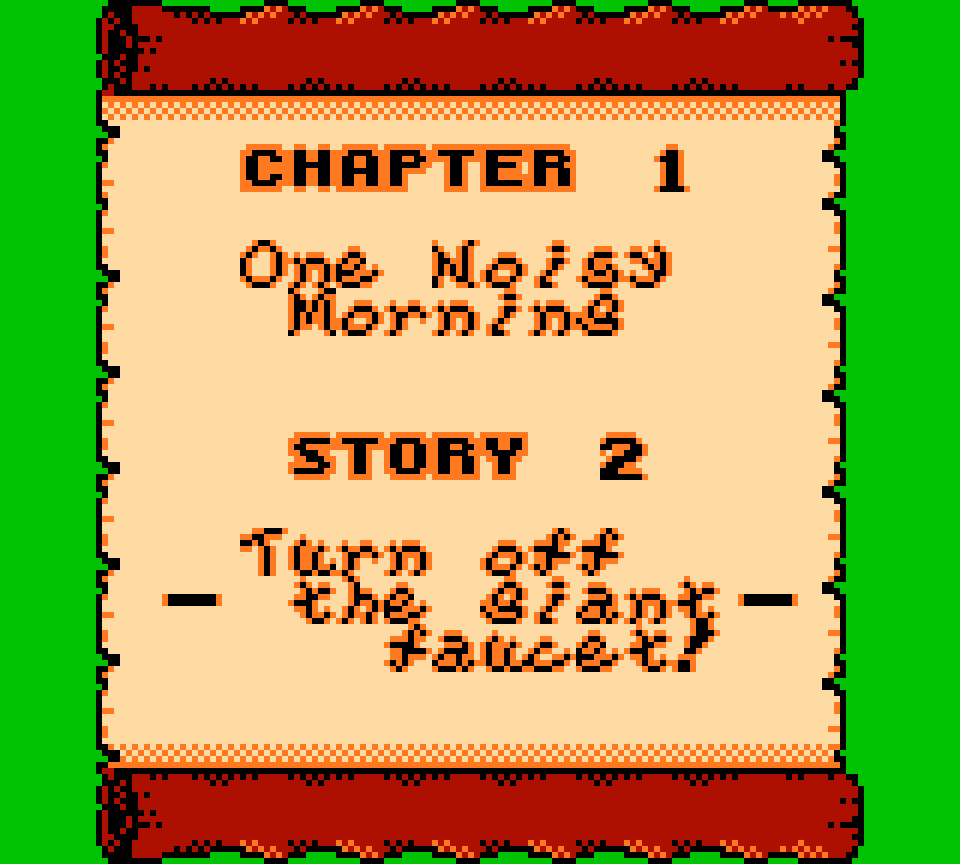
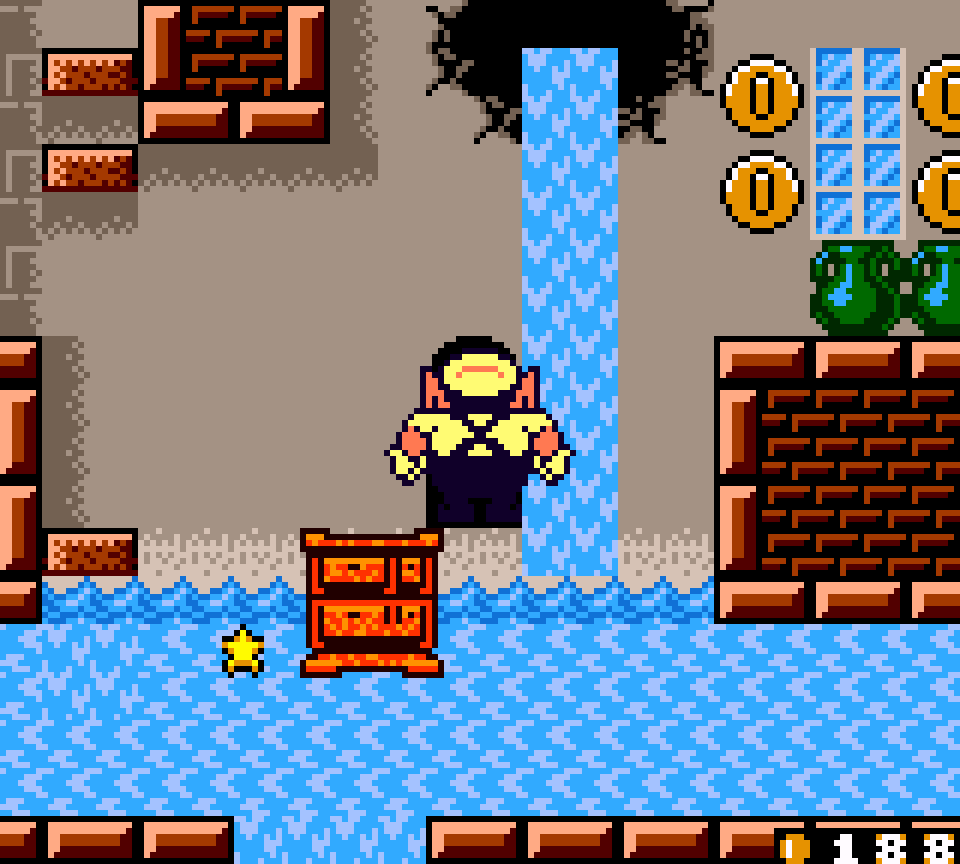
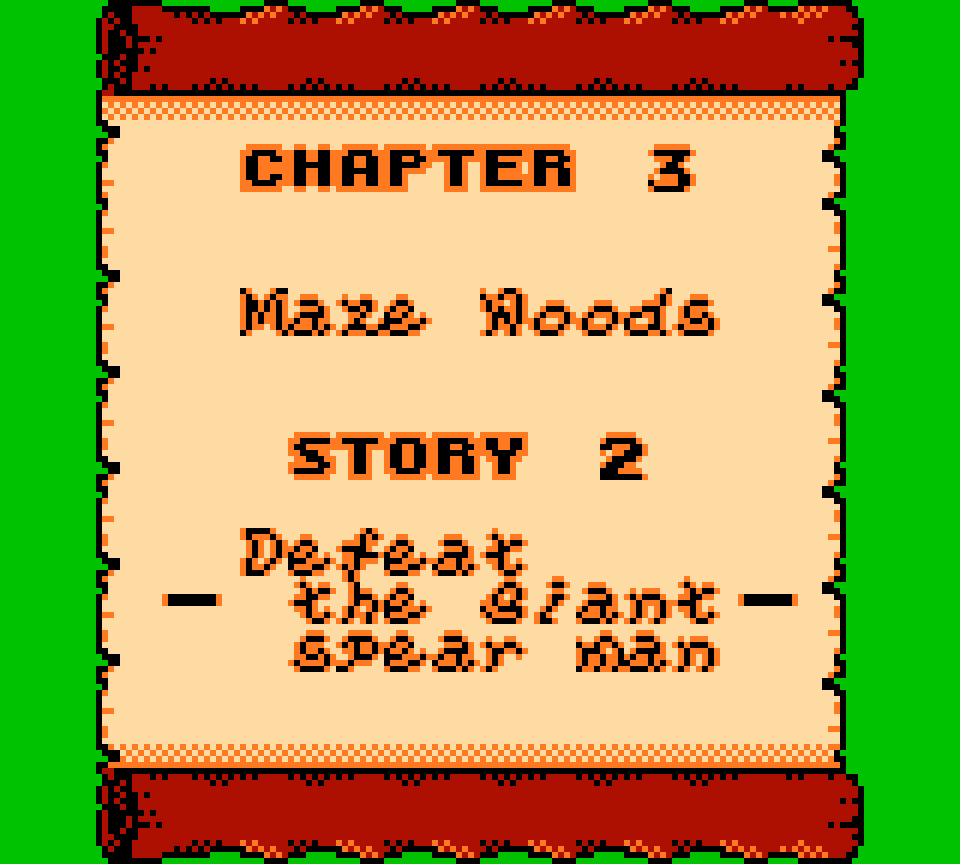
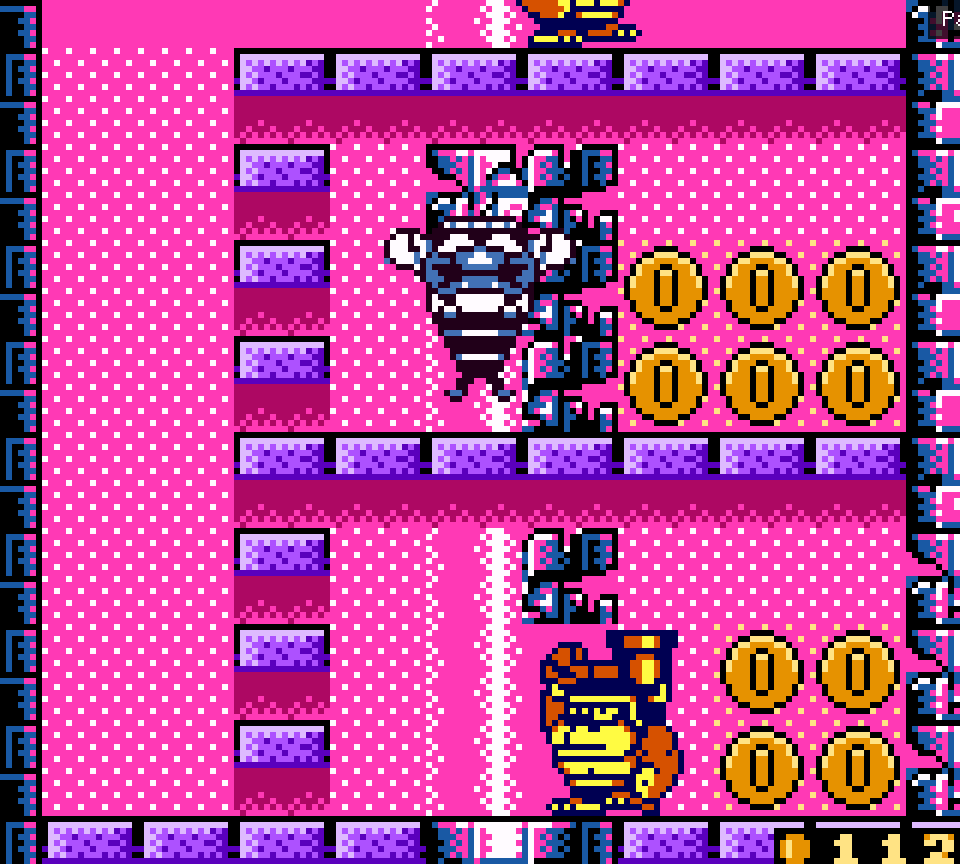
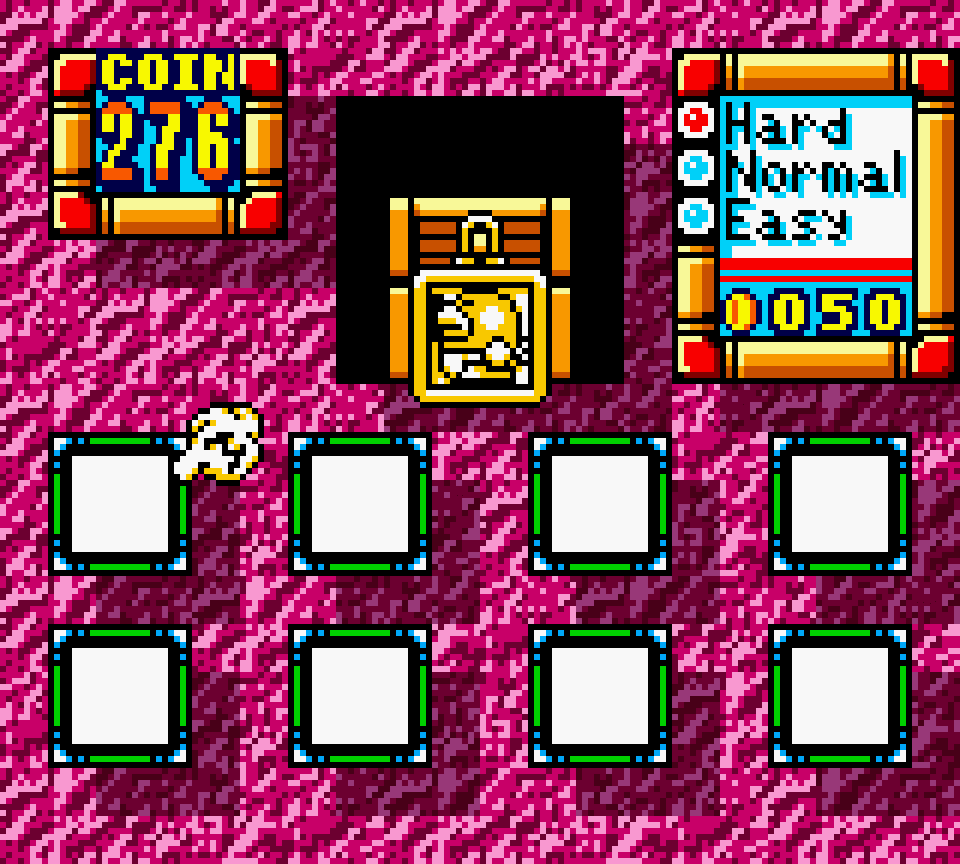
Rather than going on a sequence o’ levels with goals with a few secret exits & branching paths as the 2nd game, this game goes all the way with breaking from traditional platformers with a unique goal system: each level has 4 different-colored pairs o’ chests & keys. Collecting a matching key & then chest o’ the same color acts as 1 goal that gives the player a certain treasure that unlocks access to other keys & chests, whether by unlocking new levels, changing certain levels, or giving Wario new abilities. This can lead to multiple ways o’ getting certain treasures, especially in Time Attack challenges, when you have all abilities unlocked: for example, you normally get the red key & chest in “The Peaceful Village” using a snake to hoist you up to the roof; but if you have the winged boot, you can also high jump up the right wall ( which isn’t e’en getting into the collision glitch you can use to clip up that wall near the beginning o’ the game & the other glitches you can use the heavily sequence break this game like Metroid games ).

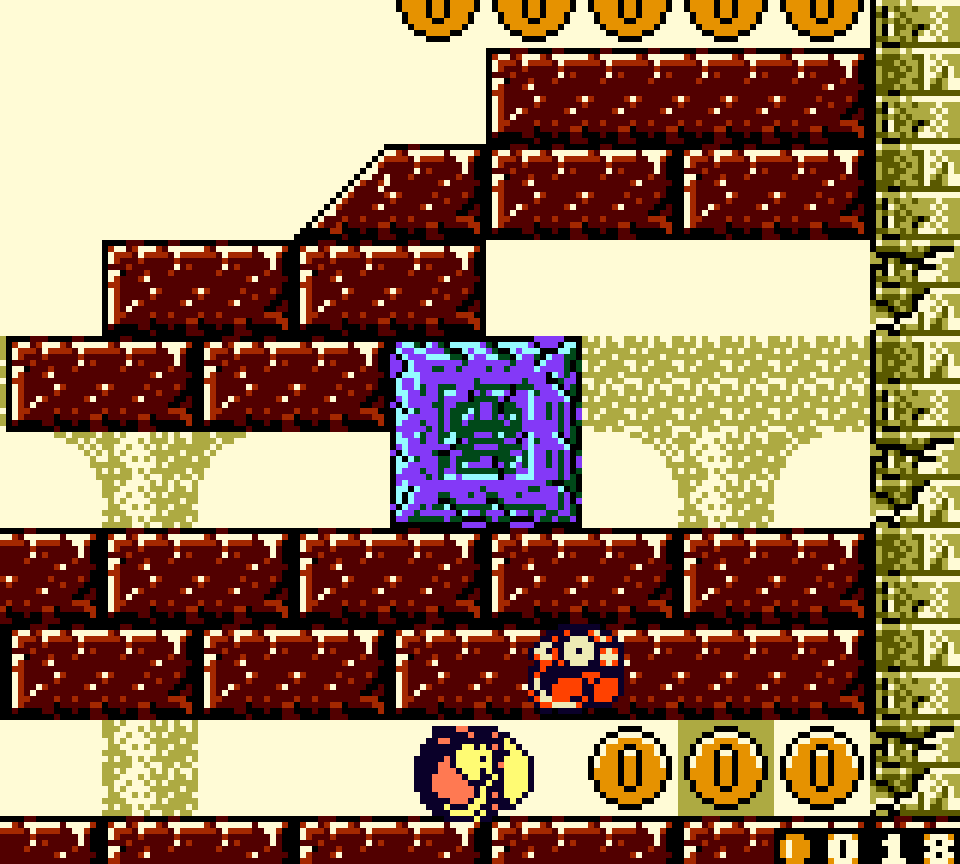
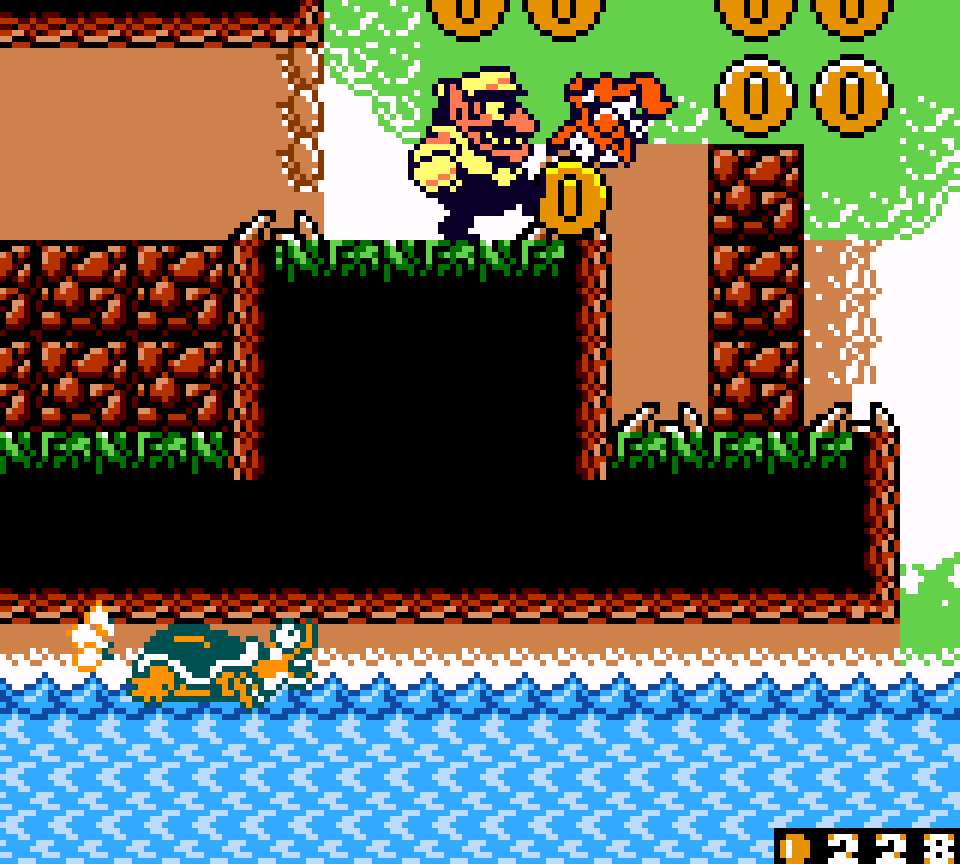
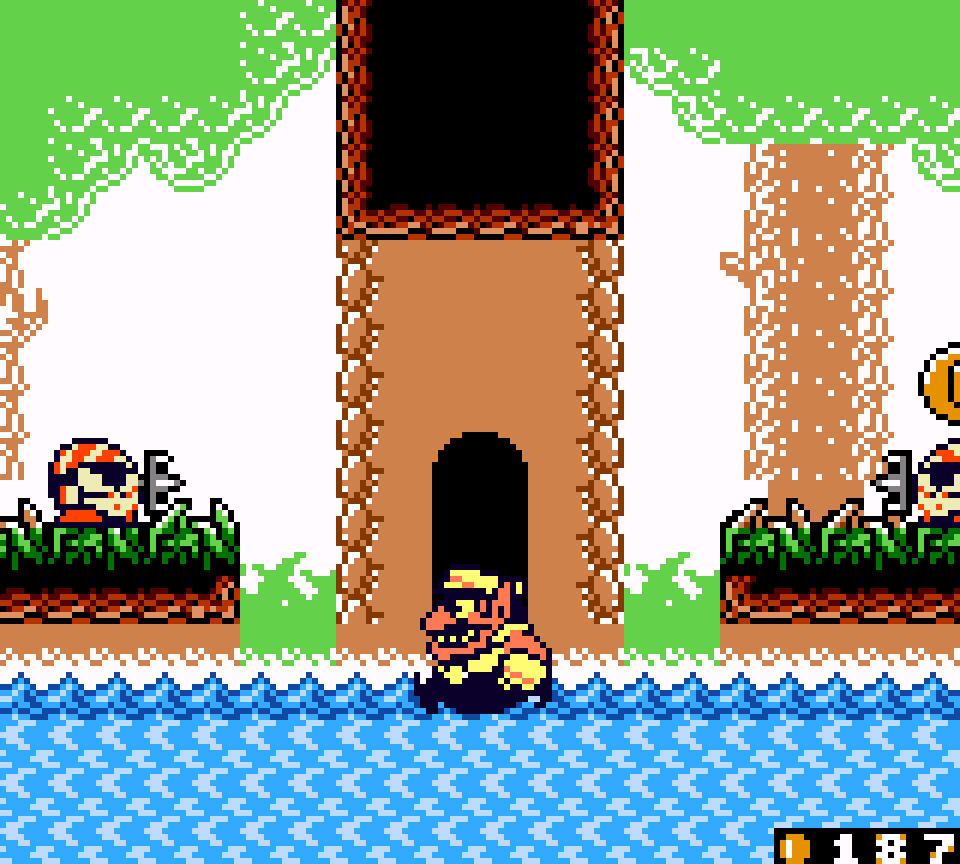
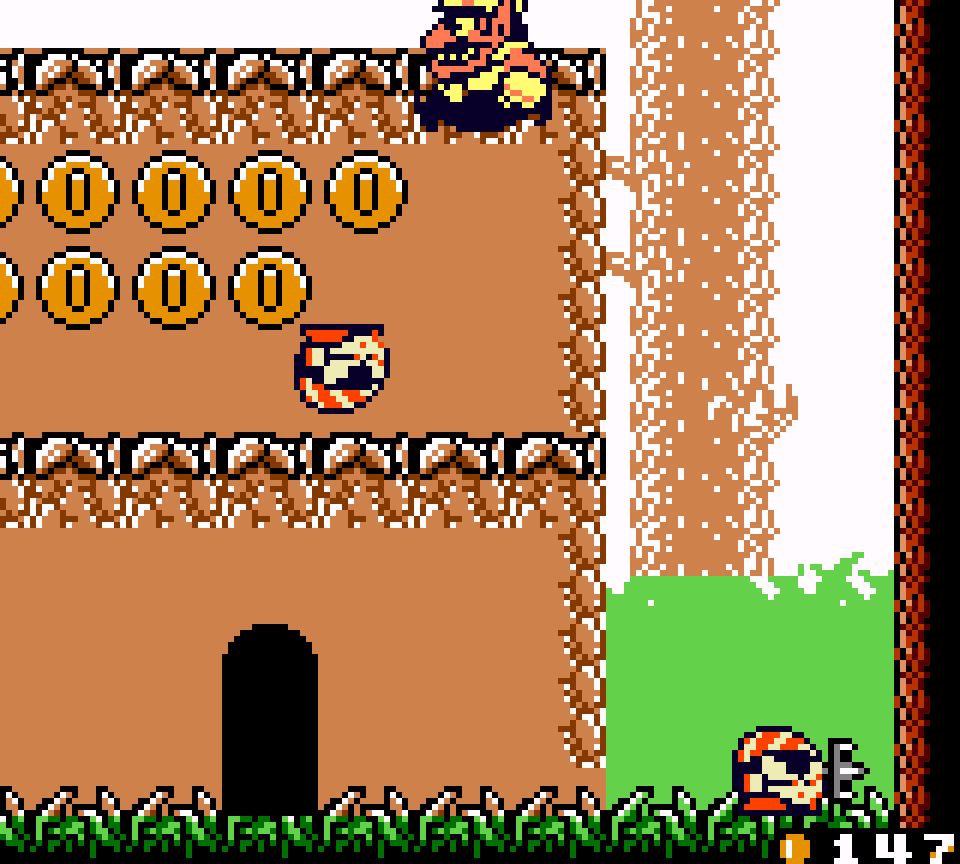
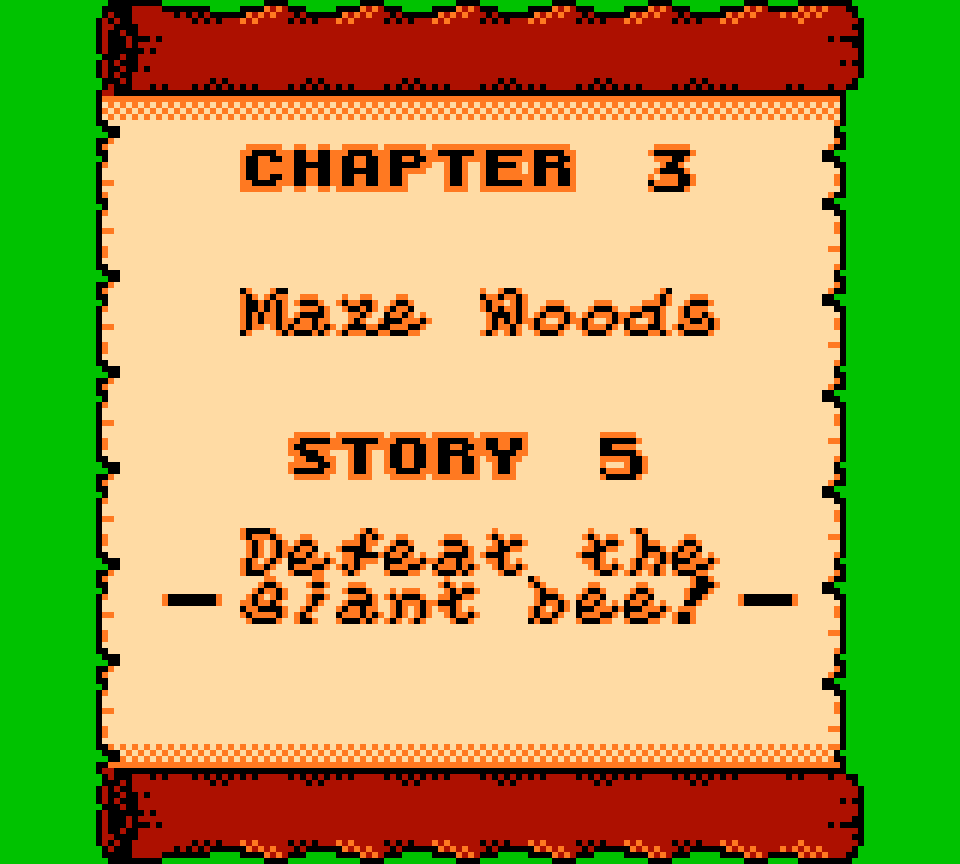
With this mo’ elaborate gameplay mechanic comes mo’ elaborate levels, with levels that branch out into different sections for the different treasures, not unlike Super Mario 64’s levels. This does lead to some repetition like in Super Mario 64 as you have to traverse the same challenges multiple times, — with some egregious examples we will be looking @ — but this is surprisingly not much mo’ than in the 1st Wario Land or Wario Land II, which, despite being mo’ linear, repeat a lot o’ the same general challenges; & given Wario Land 3’s game design, it’s mo’ understandable here.