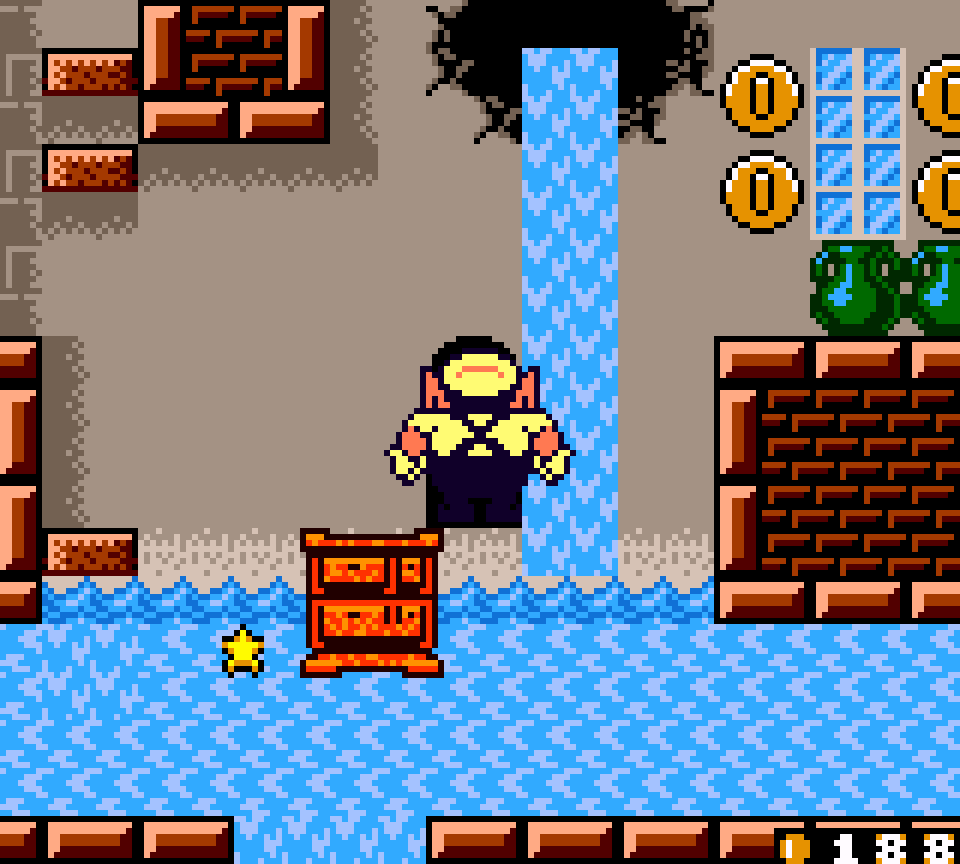
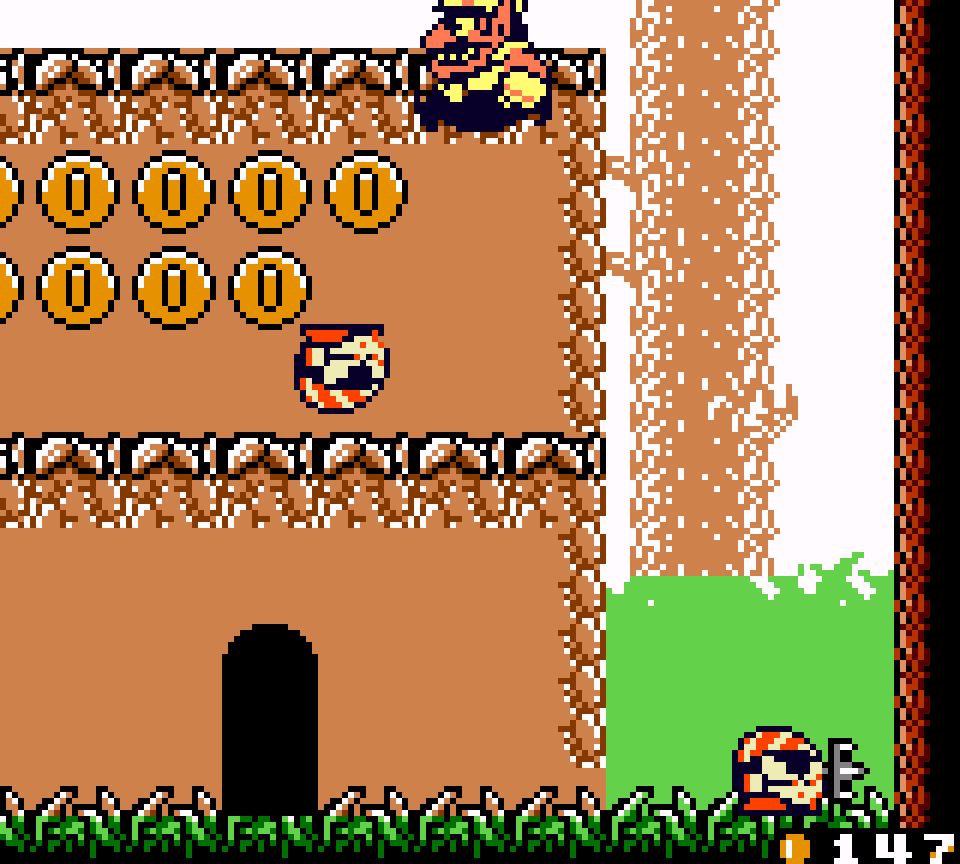
3. Ruins at the Bottom of the Sea Story 3: Inside the Ruins
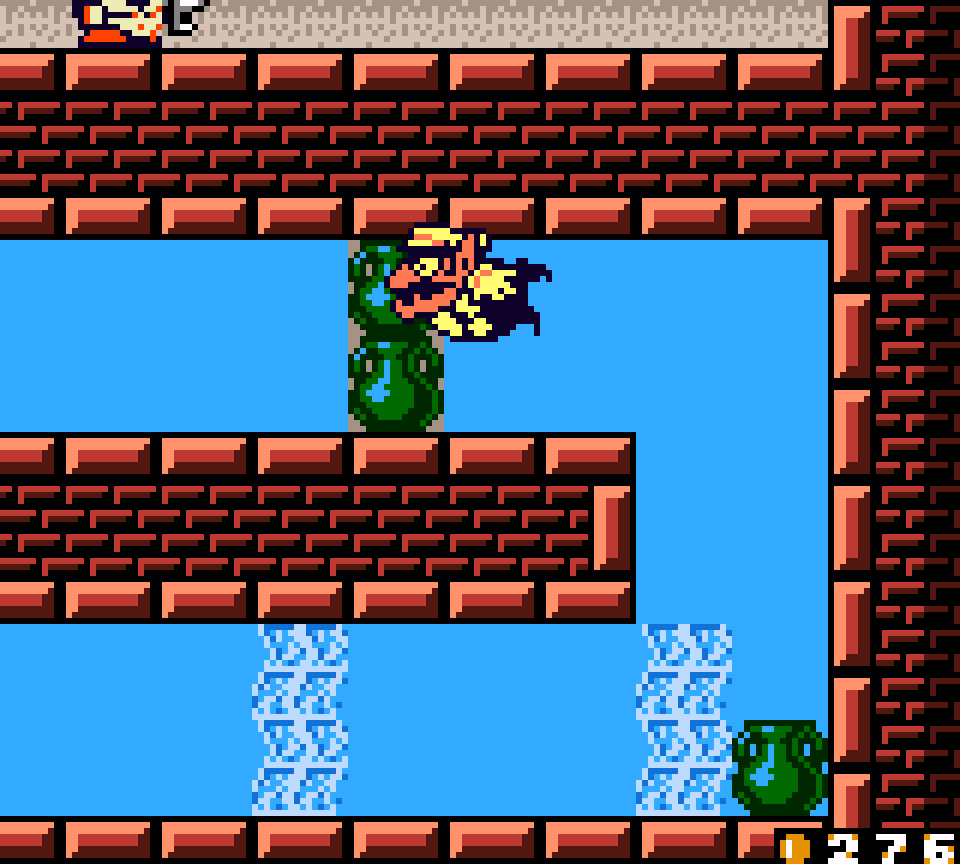
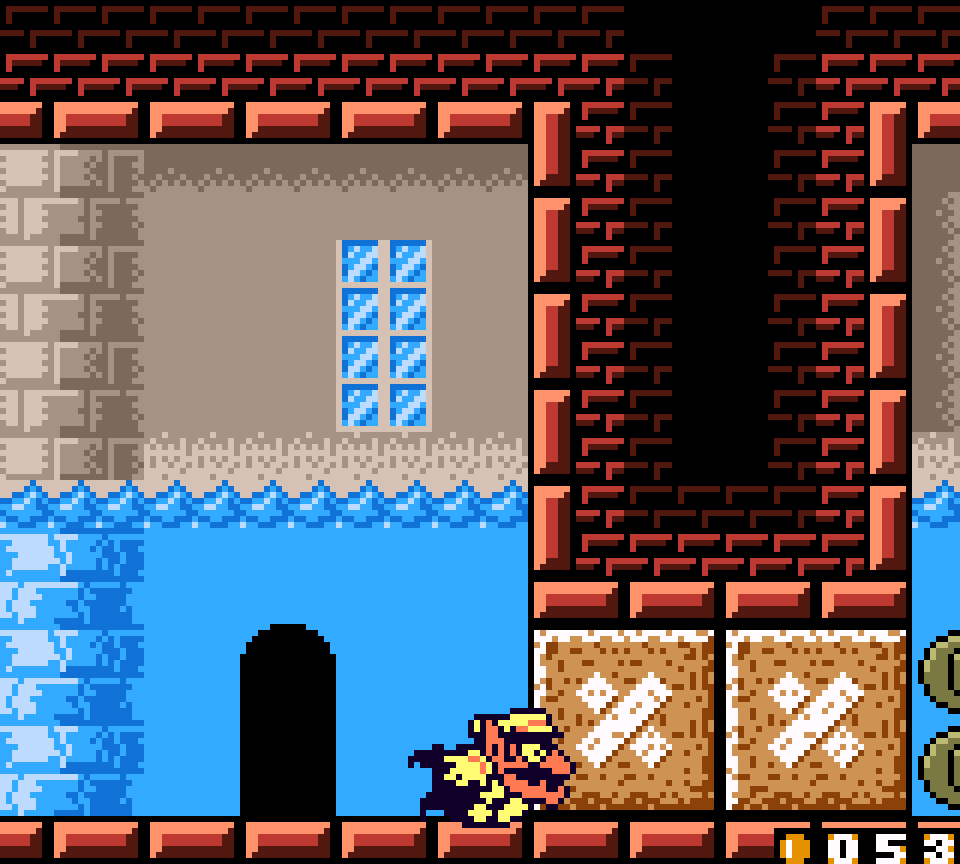
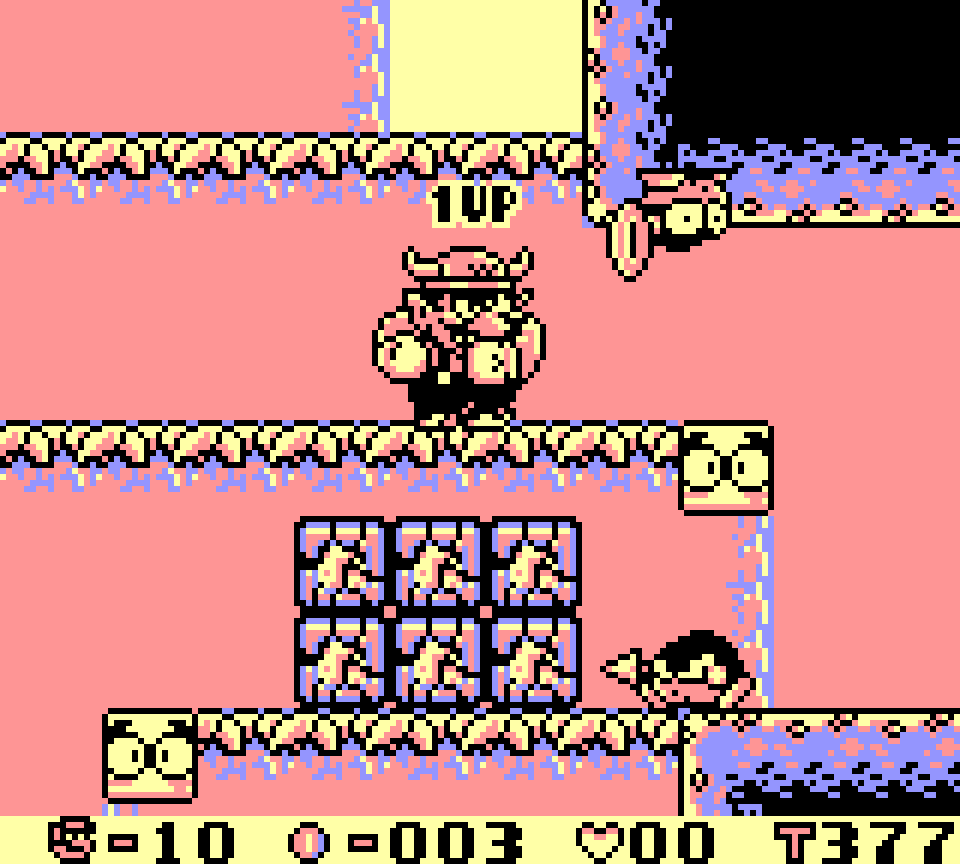
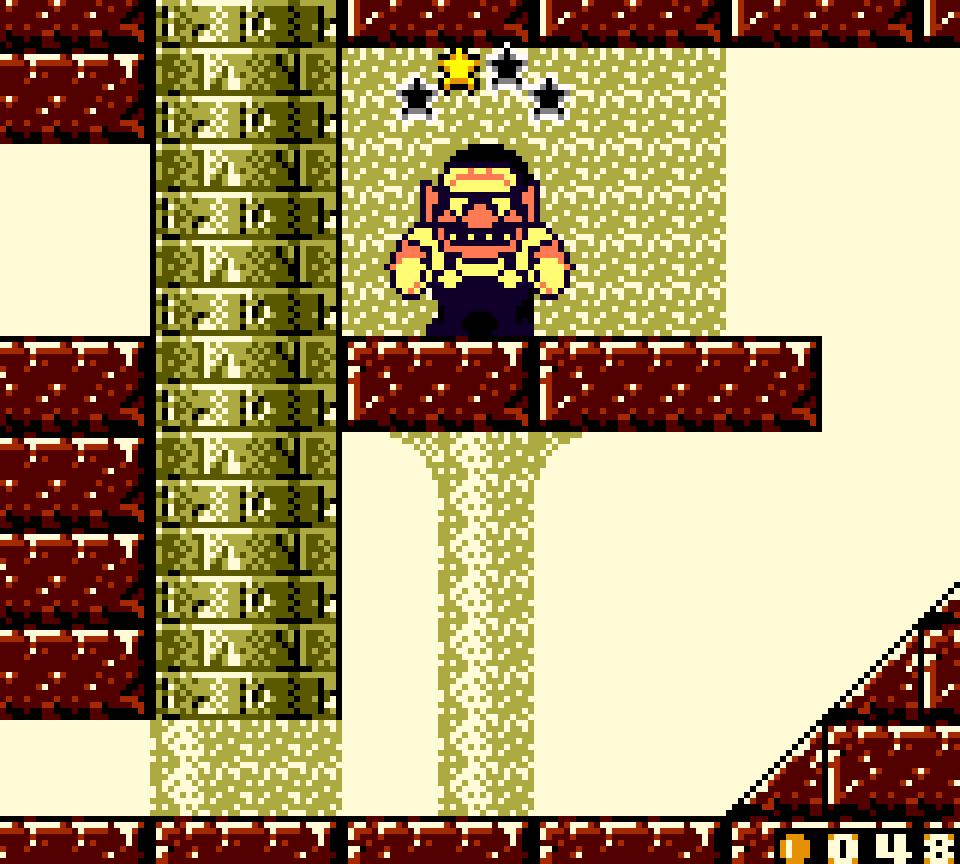
This here is the most daring level in this game: after rolling the long way right @ the beginning, granting you a sneak preview o’ the level proper, you end up on the far right side & the goal door, right there; & unlike levels like “Go to the cellar!!”’s “Find the exit!!” & “Uncanny Mansion”’s “The way to the open door” & “Coming back is difficult”, which tease you with showing you the exit, but making you play thru the whole level to get access to it, this level doesn’t bluff & does allow you to just enter the door right @ the start. But because this game is truly about 100%-ing it, not just beating it, — if one were just beating it, ¿why would one be playing thru a bonus chapter? — the player still needs to get the treasure, & to get the treasure the player will have to play thru the level to find its door & come back to the goal later. In a way, this foreshadows Wario Land 4, but in a different way: the goal o’ that game wasn’t just to hit the switch just to go back & leave. If that were the case, then its final level would be the easiest level in the world. Its goal was to collect the various items necessary to continue thru the game & safely exit with them. This level is the earliest iteration o’ that mechanic in Wario Land, with the treasure as the collectible with which you need to escape.
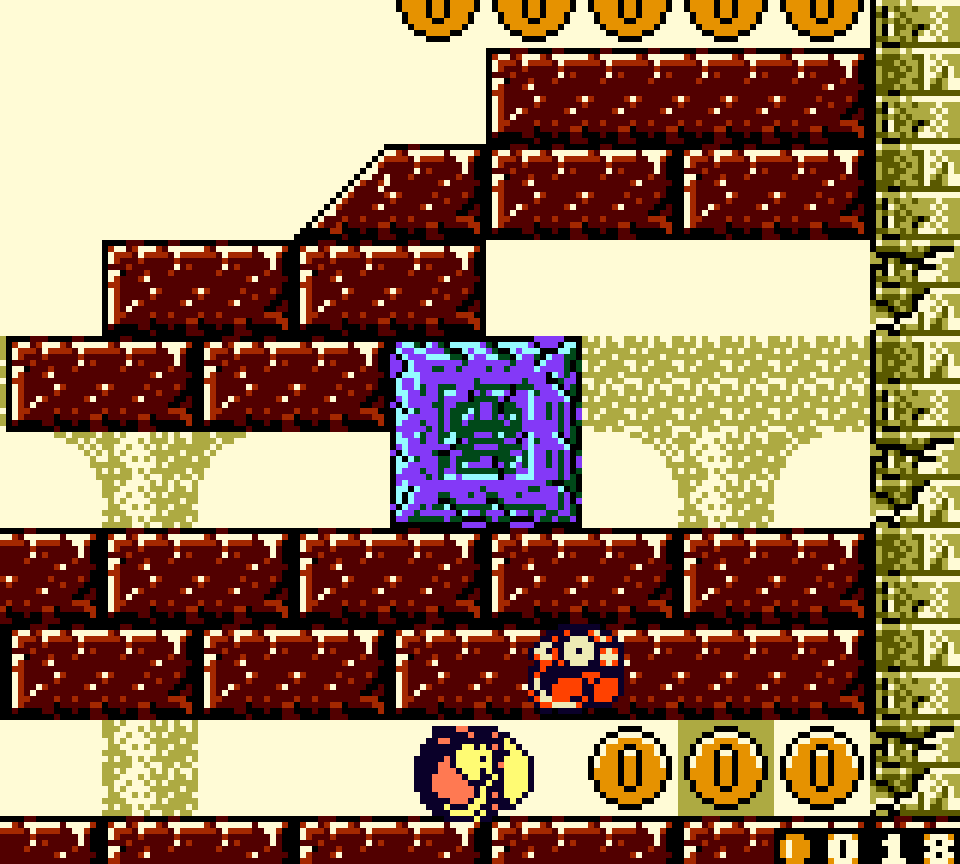
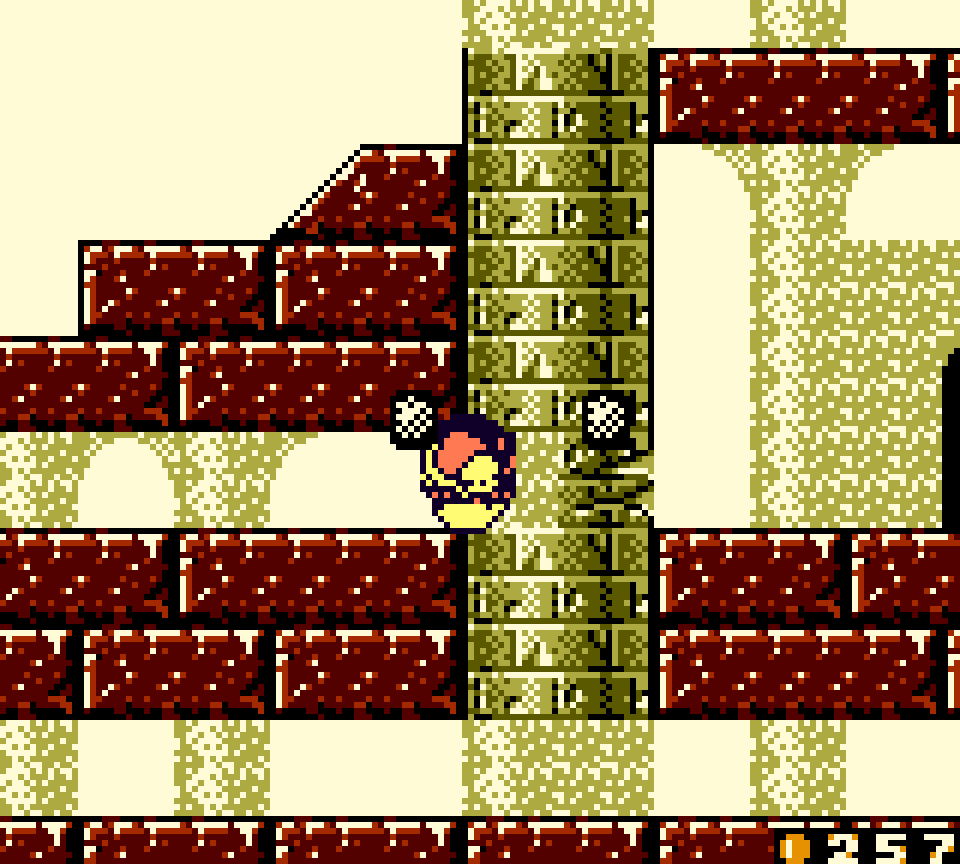
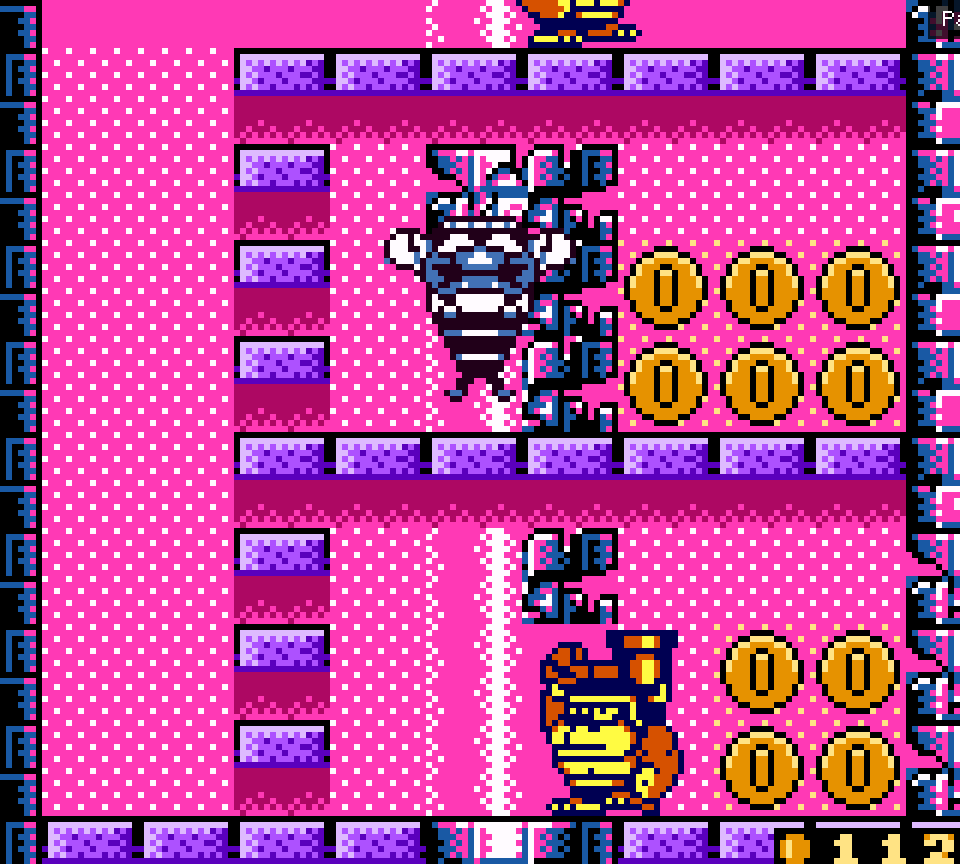
Playing the level proper involves navigating a maze o’ columns, breaking thru the 1-block-high cracked spots with rolling Wario, which in some cases requires timing jumps to get from the nearest slope to the cracked wall blocking your way forward. @ a micro level, this works the same as e’ery other use o’ this mechanic in the series, but nowhere else in the series, much less this game, is it utilized in such a memorable, intricate, & thorough fashion. For instance, this level adds a few backward slopes to go backward into certain niches. & while most rolling Wario setpieces thruout the series are relatively on-the-nose ’bout how to complete them, this level’s layout is mo’ complex & has mo’ variance to the placement o’ columns, blocks, & cracked passageways & requires mo’ scrutiny to follow the right path — especially when playing the game itself & only seeing a small screen o’ the map @ a time.